Turn Your Fandom Into Reality
Have you ever watched your favorite anime, movie, or video game character and thought, “I wish I could bring that to life”? That’s exactly what cosplay is all about—transforming your passion into something real and wearable. The problem is, beginners often feel overwhelmed: Where do I start? How much will it cost? Do I need to be a pro at sewing? The good news is you don’t need professional skills or a huge budget to make your first DIY cosplay. With the right steps, anyone can craft an outfit that looks amazing and feels rewarding.
Step 1: Choose the Right Character
Your first cosplay should be fun—not frustrating. Start with a character you love and that matches your skill level. For beginners, avoid costumes that require heavy armor or intricate props. Characters with simpler outfits—like casual versions of anime heroes, superheroes in basic suits, or video game characters with clean designs—are easier to tackle. Loving the character will keep you motivated even when things get tricky.
Step 2: Do Your Research
Before picking up scissors or fabric, study your character from every angle. Search for reference images, fan art, and screenshots. Pay attention to colors, accessories, and small details like shoes or belts. The more you know about your character’s look, the fewer surprises you’ll have later. Many cosplayers use Pinterest or cosplay forums for inspiration and tutorials—great resources to help you stay on track.
Step 3: Set a Budget (and Stick to It)
Cosplay doesn’t have to drain your wallet. Decide how much you’re willing to spend and make a list of essentials: fabric, props, wigs, makeup, or contact lenses. A smart trick is to check thrift stores, dollar stores, or even your own closet for pieces you can modify. For example, a simple white shirt can easily be customized with fabric paint instead of buying something new. Setting a budget helps you stay creative without overspending.
Step 4: Gather Materials and Tools
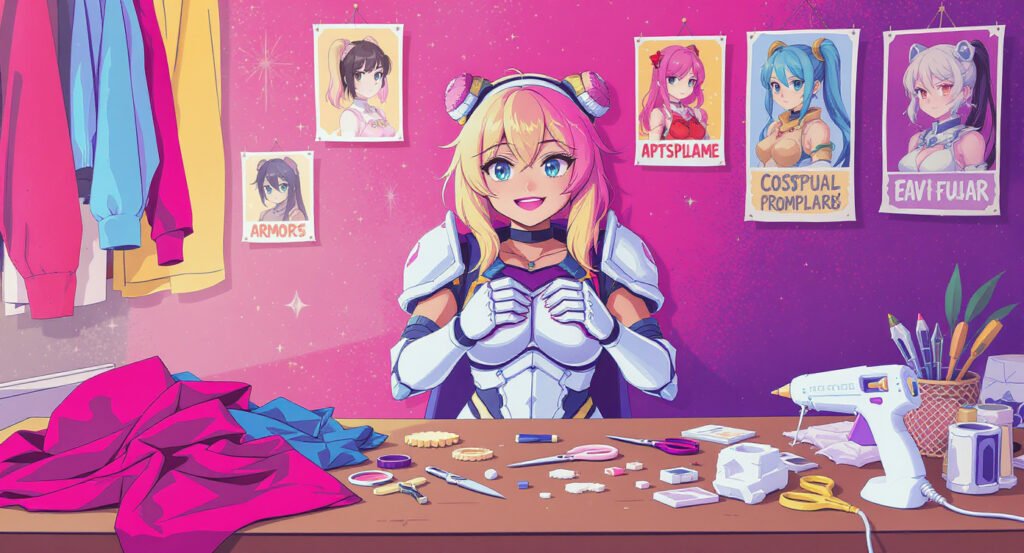
Once you know what you need, it’s time to gather your supplies. Basic DIY cosplay tools include:
- Fabric scissors
- Hot glue gun
- Sewing kit (needle, thread, pins)
- EVA foam (perfect for props or armor)
- Paints and brushes
If sewing feels intimidating, don’t worry—fabric glue and safety pins can work wonders for beginners. Remember: cosplay is about creativity, not perfection.
Step 5: Start Small and Build Up
Don’t try to finish the entire costume in one go. Break it down into smaller tasks. For example, work on the shirt first, then accessories, then the wig. This approach prevents burnout and makes the process feel manageable. Celebrate small wins along the way—you’ll be surprised how quickly your costume comes together.
Step 6: Add Props and Accessories
Accessories can make or break a cosplay. Even a simple prop, like a handmade sword, wand, or necklace, can take your outfit to the next level. EVA foam and Worbla are popular materials for beginners because they’re lightweight and easy to shape with heat. Start with simple props and gradually experiment with more complex builds as your skills grow.
Step 7: Test, Adjust, and Own It
Before the big reveal at a convention or event, try on your full costume at home. Move around, sit, walk, and pose—comfort matters as much as looks. Make small adjustments: secure loose parts, reinforce seams, or add extra detail. Finally, remember that confidence is your best accessory. A cosplay is more than fabric and glue—it’s about celebrating the character and enjoying the experience.
You got it! Your First Cosplay Journey
Creating your first DIY cosplay may feel challenging at first, but breaking it down into simple steps makes the process fun and rewarding. From choosing a character you love to adding the final touches, every moment is part of the journey. And here’s the secret: cosplay isn’t about perfection, it’s about passion. So grab your materials, unleash your creativity, and bring your favorite character to life—you’ll be surprised at what you can achieve.

Leave a Reply